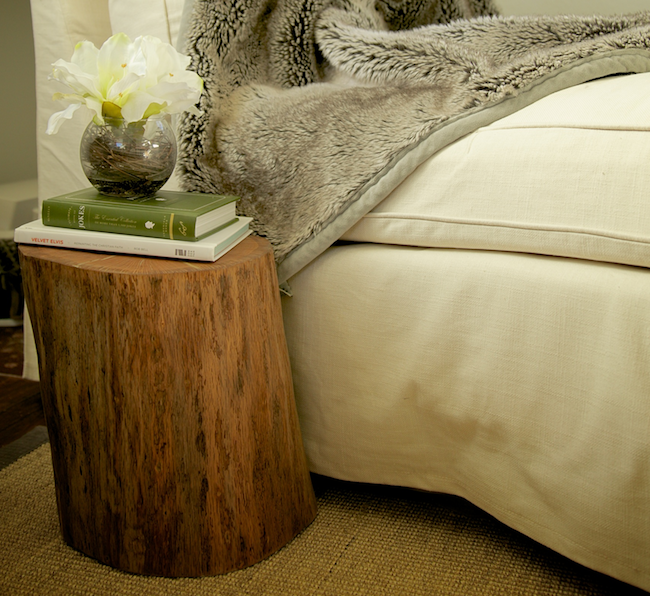
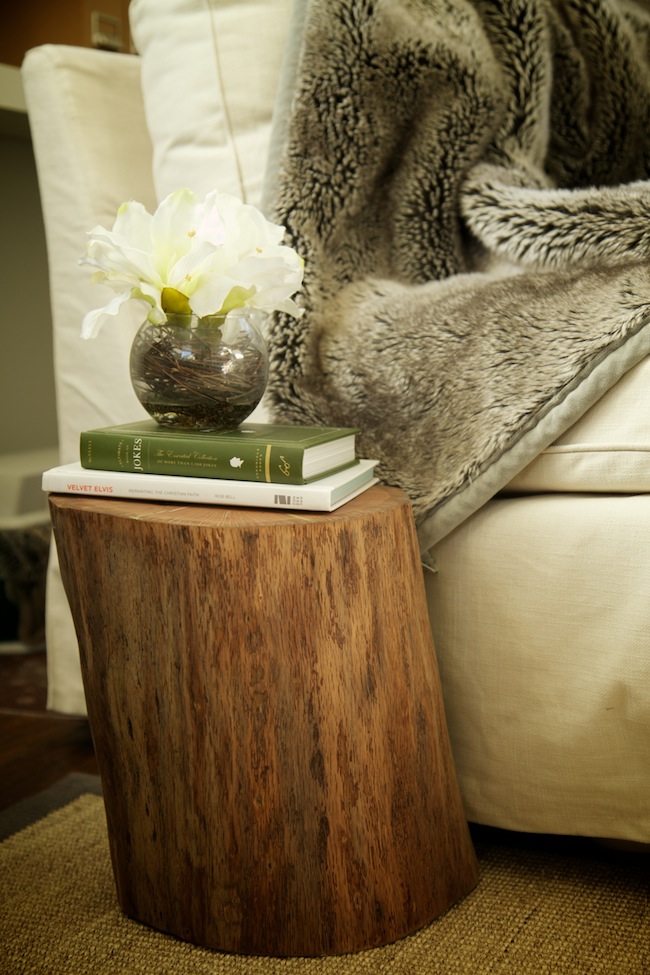
Ever since Ellen started her show all those many years ago, I have been obsessed about her coffee table. Back then, a tree stump was not something commonly made into a table and getting one was near impossible. Flash forward a decade and they are everywhere, usually costing upwards of $200. Now, do not get me wrong, I love home decor as much as the next Emily Henderson addict, but $200 for a sanded and stained tree stump just seems plain crazy.
Enter the tree stump DIY. Tree stump DIY's were created by people who, like me, do not enjoy paying wads of cash for something from their own back yard... No matter how perfect for that one random spot. The best part about these tree stump DIY's is that you have the choice of where the tree is from and can rest easy knowing you are not contributing to deforestation for decor. Finally, my conscience can rest easy.
Like so many people out there, it took me a long. time. to warm-up to this whole tree stump DIY. My DIY skills end far before painting anything and my patience is that of a two-week-old puppy. Thankfully, this stump is way easier to make than it looks, and does not take that long either. Trust me, if I can do it, you and your 4-yo can as well.
Remember, all of this should be done in an open, well ventilated area.
Supplies
- Tree stump
- Chisel and hammer for bark
- Pain brush
- Power sander and sandpaper
- tarp
- rags
- stain
1. Pick a Stump
My stump is from a downed tree in my in-law's yard. The maintenance guy cut it level for me and removed the bark. If your in-laws do no have a downed tree, check out local lumber yards, lawn companies, or tree cutters. Chances are that they have some spare stumps they would almost pay you to take. The stump should be free and, if you ask, they will probably level it for you as well!
2. Remove Bark
This step does not have any pictures since it was done for me, but it is rather simple to do. All you need is a hammer and a chisel. Place the chisel between the bark and the wood and hammer the top of the chisel handle downward. The bark should come right off. Do this to the entire tree.
Here is a great how-to for this step :) She does her tree table a bit different than mine, but this is also a great resource if you want to add legs to yours.
3. Dry and De-Bug
We want to make sure that the wood is dried and there are no critters hiding in it. I completed a termite and bug removal on mine just to be safe. Bug and termite wood removers can be found at your local hardware store. Complete as directed, then allow the stump to dry. If your stump is older, it may already be dry enough. Otherwise, leave it in a dry place for a week or more.
I left mine in our dry garage for a year, but that was procrastination over safety.
4. Sand, Sand, Sand
Next up is sanding. It is best to use a power sander for this part, but some serious elbow grease will work all the same. I wanted my stump to have a natural, non-shiny, look and decided to use a stain alone. Whatever stain you choose should have a sandpaper grit recommendation. Mine recommended 220.
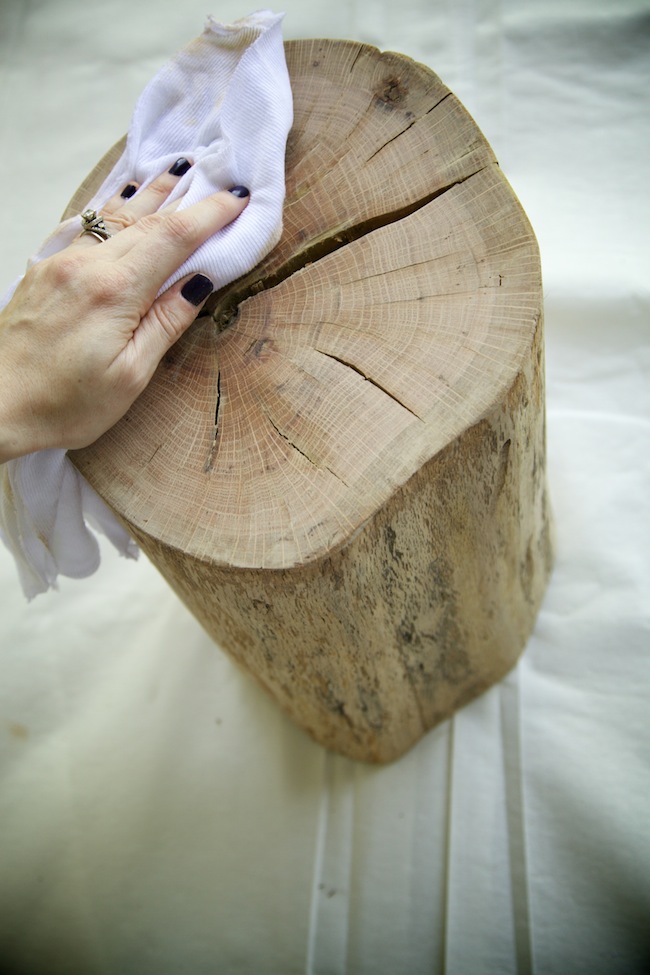
Sand the top, sides, and bottom until all are smooth to the touch. If your tree stump has any large cracks, use sandpaper to sand in them as best you can.
Once finished, wipe down so no dust remains on the stump.
5. Wood Filler
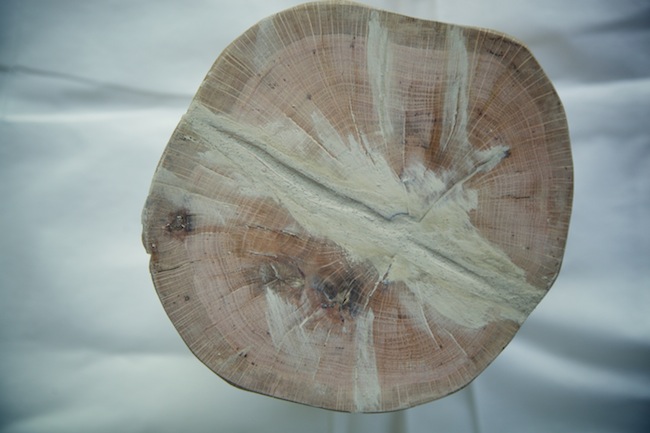
My stump had a pretty big crack in the center that I decided to fill with wood filler. If your stump has any large cracks or divots that you wish to fill in, use a wood filler that is able to be stained and use according to filler directions.
The wood filler will need to dry; this could take anywhere from 15-minutes to 4-hours, depending on the size of the crack or divot. When dry, the filler should be hard to the touch.
6. Sand, Again
Once your filler is dry, you will want to sand it down so it is level with the stump. I also sanded off any excess that got on other areas it was not needed. This is highly recommended since the stump will look more natural with less wood filler used.
Again, wipe the stump clean so no dust remains.
7. Stain
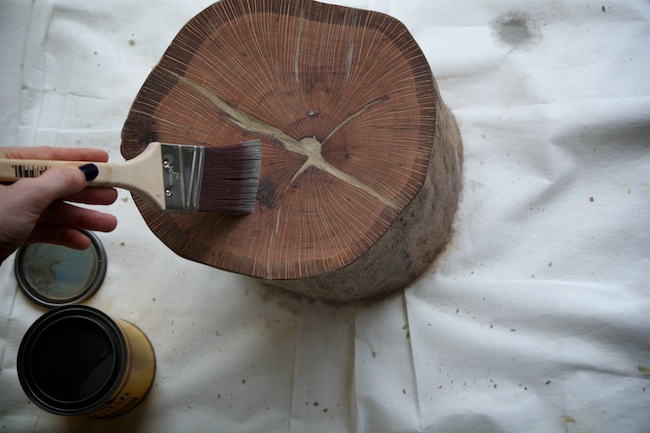
The stain you choose makes a BIG difference to how the stump will turn out. I plan to bleach my next one, but this one I wanted a bit darker grey so I used Weathered Oak by Minwax. Stain according to package directions. Be sure to use a good paint brush or cloth for this step. The key is to get as few bubbles as possible and have the color blend well. Next up is wiping that stain off.
8. Wipe Clean
If you do not want your stain to be dark, do not leave it on long. The longer the stain is on, the darker the stain will become. Minwax recommended I keep mine on for 5-15 minutes. I started wiping excess stain off after 5-minutes.
To wipe stump, use a clean, dry rag that will not leave fibers behind.
9. Let Dry
If you want more than one layer of stain, let the stain dry according to directions. This is usually 4-6 hours before adding another coat. Complete as many coats as desired with the same stain, then dry process. Do not sand between staining.
Once you are happy with your stain amount, let the stump dry for 8+ hours.
When the stain is dry, you are ready to bring it inside and marvel at your accomplishment. See, I told you it was not that bad! Sure, it does take a while for the drying times, but at least you do not need to be working on it for those 4+ hours!
